Step by Step to Make Soap at Home
In an ever changing world, it is a dream of every household to lower spendings on cleaning products such as soap by either buying them at a lower price or by finding an easy way of manufacturing them locally.
This article will give detailed steps on how you could be able to manufacture tablet soap at home with the help of local available resources. By the end of this article, you will be able to manufacture your own home soap for home use and you could also take this as your opportunity for starting small scale soap manufacturing in your local area, which could make you earn a few dollars.
Steps Followed to Manufacture Tablet Soap at Home
The following are the recommended steps you must follow for you to successfully manufacture tablets soap at home.
Step 1: Gather materials
The first step to manufacture tablet soap at home is to gather the required materials. First of all, you need to buy the ingredients which are used to manufacture your soap locally, and the following are the required materials which you must buy locally or in any chemical selling shop. These are; Palm oil, Caustic soda, Jerry power, Perfume and Dye. Apart from these, you also need to buy home utensils which would be used during the manufacturing process and these are, plastic buckets, plastic cups, wooden hand blender, plastic spoons, plastic basins, gloves and plastic soap dish.
Step 2: Follow right local measurements on materials
The second step to successfully manufacture bar soap at home using local available resources is to follow right measurements on materials. In our manufacturing, we will be using a plastic cup and spoons in replacement of measuring scale. In our manufacturing, we will use a ration of 1 cup of palm oil, 2 cups of water, half cup of Caustic soda, quarter a spoon of dye, 2 spoons of perfume and 2 spoons of Jerry as our convenient measurements in replacement of the scale. In this case, if we are to add another cup of palm oil, then it means we will have 4 cups of water, a cup of Caustic soda (half + half), 4 spoons of perfume and so on. It must be clear here that before we start measuring and putting them in required plastic buckets, we must know that the palm oil needs to be boiled and allow it to cool.
You might be wondering as to why we are using plastic buckets, plastic spoons, wooden hand blender, plastic cups among others? Well, the reason here is that, the manufacturing process of soap requires mixing of Caustic soda, water, Jerry and palm oil as the major ingredients, and the reaction of these involves releasing heat to the surrounding since it's an exothermic reaction, this is why we opted for plastics and wooden materials.
Step 3: Mixing stage
The third step to locally manufacture tablet soap at home is to mix the required materials. In this step we will use the ratios given above in the step 2. Thus we need to measure a cup of palm oil and put it in a plastic bucket.
Having done that, then we need to add 2 cups of water on that bucket as well and start blending using a wooden hand blender. The main point here is to at least mix the palm oil with the water even though these two have different density which could lead palm oil to be on top.
Having added 2 cups of water, you need to add quarter a spoon of dye, 2 spoons of perfume and 2 spoons of Jerry powder and continue blending or mixing, while you are doing this another person should measure half a cup of Caustic soda and dissolve it in half a cup of water and blend or mix.
You must know that the moment the Caustic soda is added to water, a chemical reaction which releases heat to the surrounding will be spotted such that you will be able to notice a rise in temperature of water and the plastic basic could get warm.
Having mixed half a cup of water with half a cup of Caustic soda, the next step is to transfer that to the bucket containing the mixture of water, palm oil, dye, perfume and Jerry. Once you have added this, you need to continue blending (mixing) until solid like structure starts forming, thus when you need to transfer the mixture to the dish plate bearing on the size of soap you want as well as the design of your soap to bear.
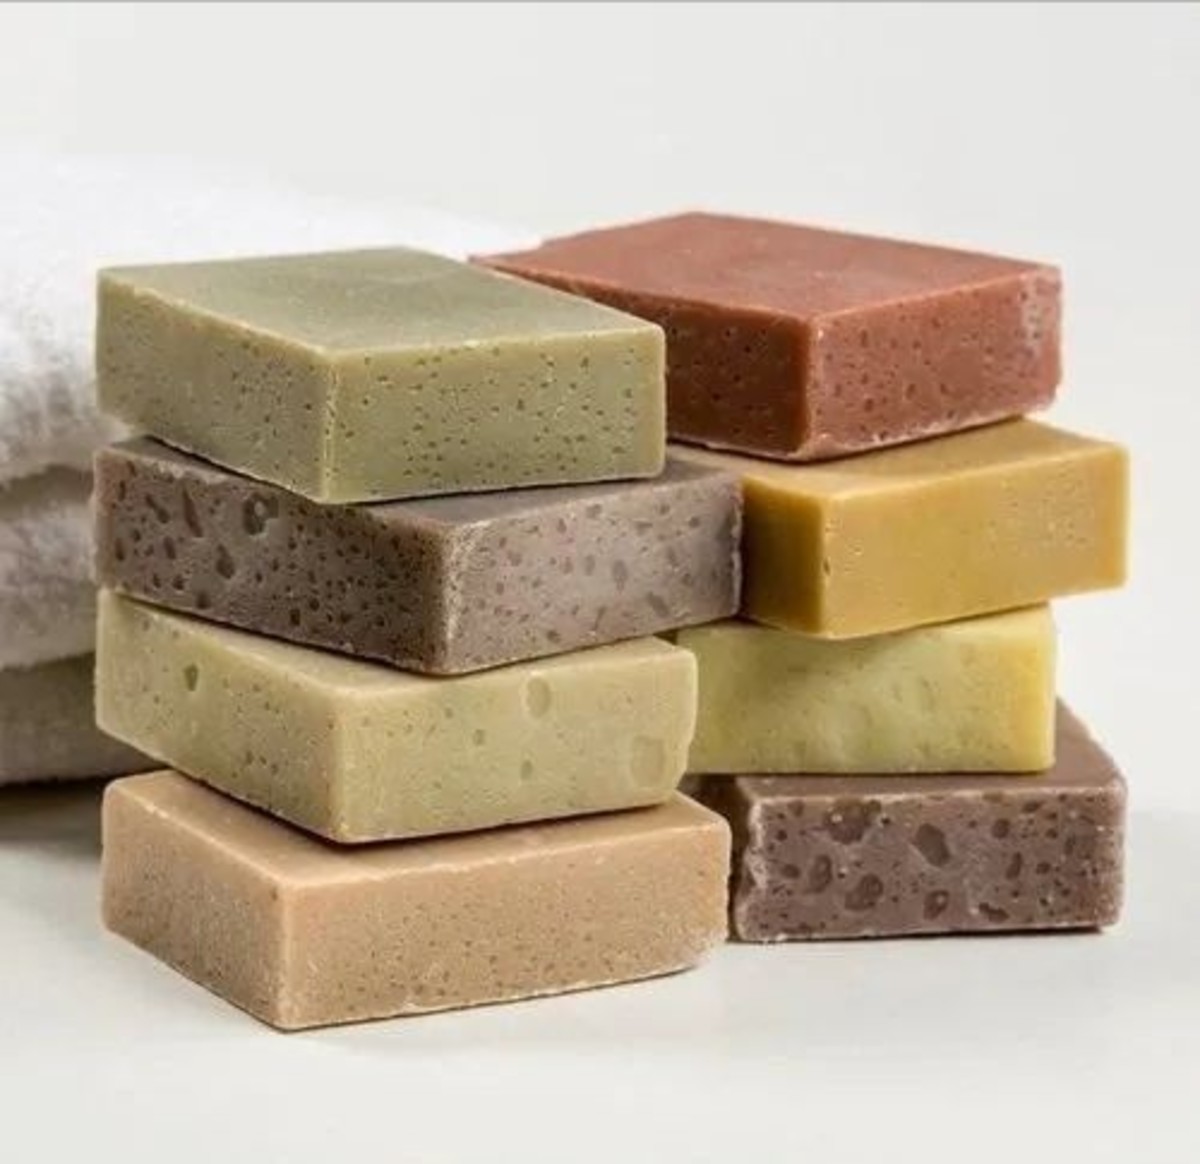
Another key point worth knowing is that the dye is responsible for soap colour, which means if you use a green colour, then your soap will also be green. Another key point you should know is that, this article is talking about tablet soap manufacturing and does not give more details on powder soap manufacturing.
Another key point is that, every step needs to be done while you have put on protective materials on your body or skin. Another key point worth knowing is that we could change the ingredient ratios from the ones given above, but we must know that if we double one ingredient, other ingredients should be doubled too.
Step 4: Solidification
The last step on tablet soap local manufacturing is solidification process, which involves waiting the porridge like mixture to solidify resembling the structure of bar soap we use or buy and usually this process takes 72 hours. Which means, you need to wait for 72 hours before your soap which has been locally manufactured to get used. To maximize the results, you could also cover the top of the dish plate with a plastic paper.
Having waited for 72 hours, your soap will be ready for home use or for selling and you could find local markets, which could see you make a few dollars a day as every household uses a soap on a daily basis.
In conclusion, this article has uncovered a local way of manufacturing table soap, which is used for washing clothes and other related use. Among others, the article has given detailed step by step easy to understand steps which an individual can follow for local production.